While the schematic included in the instructions (see links in Part 1 post) gives some insight into what bolt goes where, it would be much easier if there was a key. Since there is a mix of black and silver bolts/nuts/washers as well as metric and standard sizes, the hardest part of this install was figuring out what bolts go where.
The next part of the install is the Warn Winch Mount (P/N 88240). This part of the install is so straightforward that there is no reason to repeat Warn's instructions. Just a few more bolts that are easy to identify and boom, you are done.
Completed Install Below:
FOLLOW THE INSTRUCTIONS on the ORDER of what bolts to torque and when. This is super important – like building a level foundation on a house. Warn did a good job designing this kit as it is very robust and fits together well. Just make sure everything lines up in the end and adjust if necessary. I followed the instructions and noticed the tray was off by 3/4” on the passenger side. After loosening a few bolts, I was able to adjust it correctly and get it straight.
Install and tighten all of your winch wire connections before installing the winch on the tray. I did not do this, but could have saved a lot of time and frustration if I had done this prior to bolting it to the Warn winch tray. There isn’t a lot of room between the tray and the stock bumper so it makes it difficult to install and torque the wires if you don’t do this beforehand.
Obviously optional, but I decided to paint the supplied tow hooks red before the install. If you want these a different color, it is very easy to do before you install the winch tray.
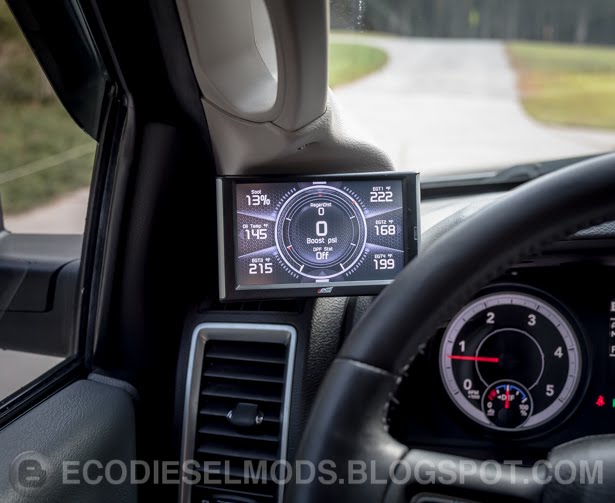
The extra factory holes in the bottom and sides are PERFECT for adding accessories. I had a lot of options for my Rigid Industries Dually spotlights and forward facing camera that links up to the Insight CTS2 monitor - more on that in the future.
$9.99 Amazon waterproof forward camera installed below (how-to post coming soon...) This is a great option to have for parking.
My particular setup weight:
Warn P/N 90135 Trans4mer Gen II bracket = 80lbs
Warn P/N 80240 Winch Mount Tray – 47lbs
Smittybilt X20 12,000lb Winch w/SYNTHETIC rope – 63lbs
TOTAL ADDED WEIGHT = approx. 190lbs
I wanted the synthetic rope for a variety of reasons, but it is important to note that this options saved me over 36lbs as compared to the cable version of the same winch. I have Bilstein 5100’s set to 2.1” of lift in the front and did not notice any change in stance with the extra weight.
No noticeable front sag (photo below)
Instead of cutting the black lower wind faring on the bumper as the instructions suggested, I decided to just remove the whole piece of plastic instead. It is very easy to do and makes the stance of the truck look more aggressive. If I decide to remove the winch and sell the truck in the future, I can put everything back to factory without having cut marks in the fairing.


Did it affect your park sensors?
ReplyDelete